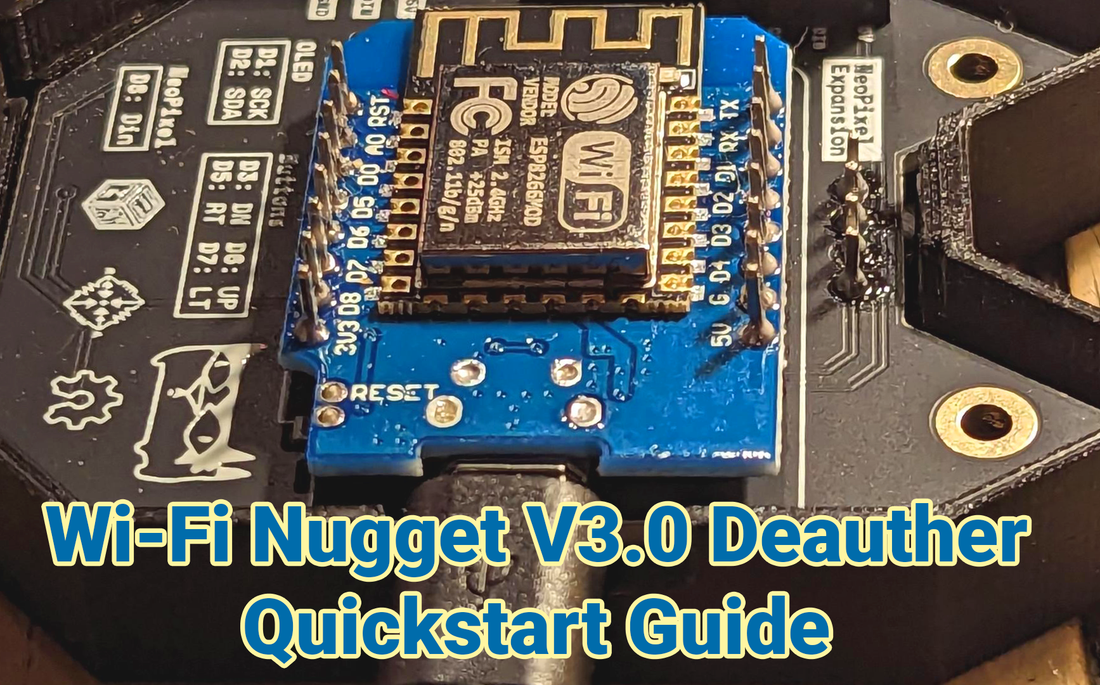
The Wi-Fi Nugget makes it easy to install supported projects by visiting the nugget.dev website.
To practice advanced Wi-Fi hacking, we'll load the v3.0 Wi-Fi Deauther project, which you can learn more about here: https://github.com/SpacehuhnTech/esp8266_deauther/tree/v3
This advanced version of the Wi-Fi deauther does NOT support screen output, so we'll be communicating with it over USB.
To follow along, you'll need the following:
- A Wi-Fi Nugget
- A computer running Windows, Linux, or MacOS
- The Chrome browser (Edge works too)
- A micro USB cable that supports data
- Plug your Wi-Fi Nugget into your computer with a micro USB cable that supports data, and go to www.nugget.dev in the Chrome browser.

- Click "Connect your Nugget" and select the serial device. If you're not sure which is correct, unplug and plug it back in to see which appears and disappears.

- Click connect, and then click "Erase" and then "OK" to confirm and to erase the current program. Wait until you see it says "Finished."

- Once erasing is finished, select "ESP8266 Deauther" from the dropdown menu to install the V3.0 Wi-Fi Deauther, then click the program button.

- Watch the progress bar, and once it's complete and says "Flash Complete," you can unplug your nugget!

- Now our Nugget is flashed, and we can communicate with it over serial! In Chrome, navigate to serial.huhn.me, click "Connect," and select your Nugget.

- Your Nugget should be connected! To test the connection, type "help" and press enter or click "Send." You should see the help menu displayed!

That's it! You can now run commands like scan to explore the wireless environment around you. The output should look something like below:

You can find more resources on using the V3 Deauther software and Wi-Fi Nugget hardware below:
Quickstart Guides - Wi-Fi Nugget
Create fake access points using the beacon command
Slides - Advanced Wi-Fi Hacking Class
Video Guide - Flash Hacking Tools to the ESP8266 With a Browser
